Table Of Contents
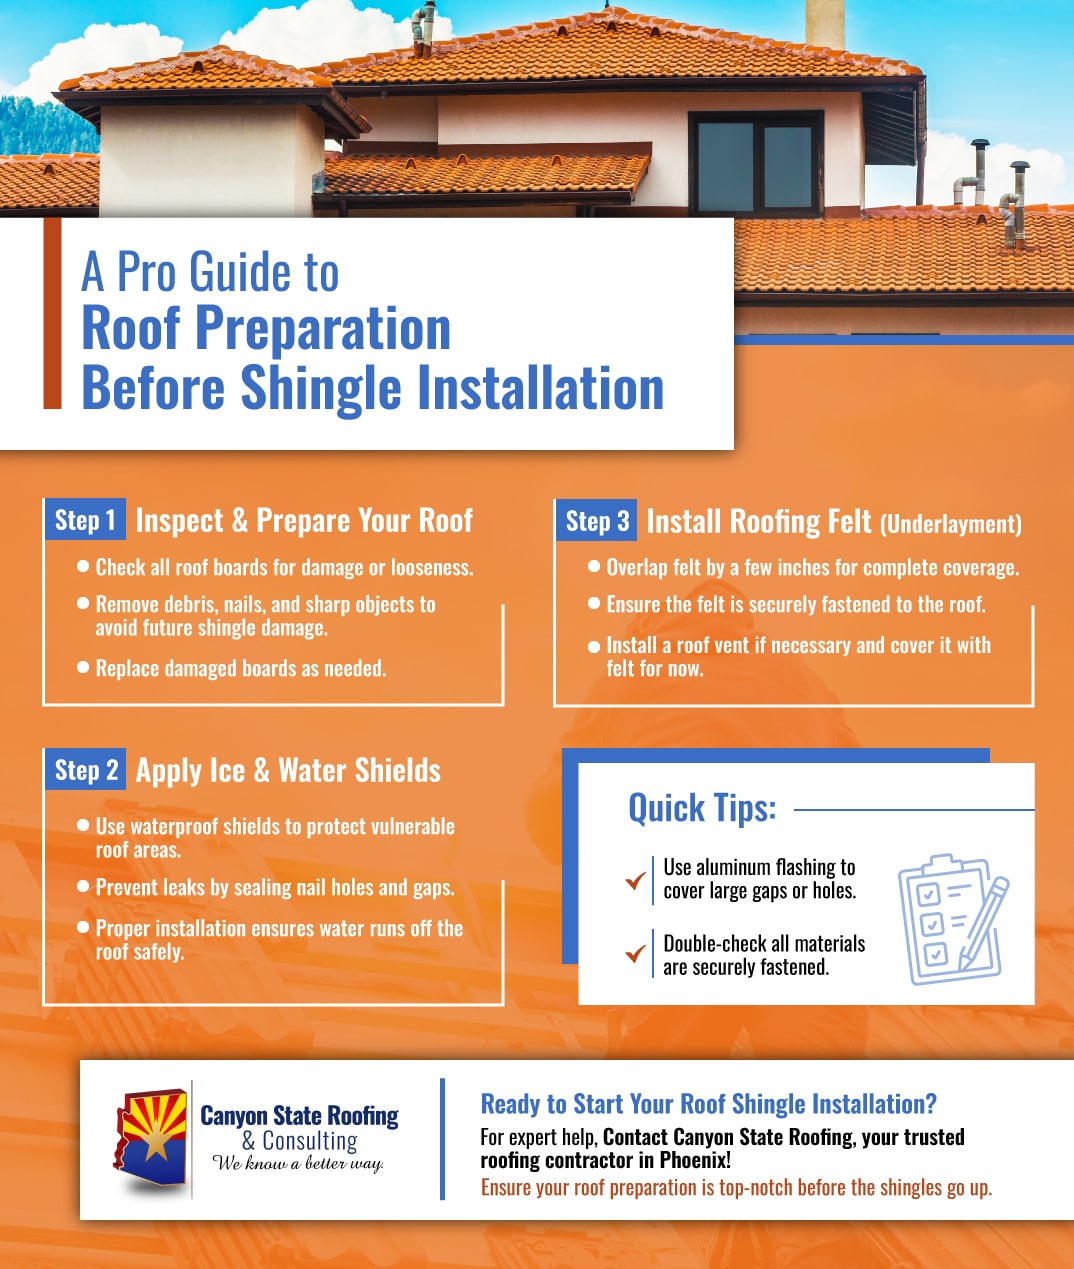
A Pro Guide To Roof Preparation Before a Roof Shingle Installation
The Basics Steps To Prep Your Roof For a Shingle Installation
Roof shingles are a great way to add curb appeal and protection to your home. However, they’re only as effective as the preparation that goes into installing them. In this guide, we’ll walk you through the basics of roof prep, from cleaning the roof to marking the locations for your shingles.
By following these steps, you’ll be able to get your roof ready for shingles in no time! You’ll only have to call a Sun City roofing contractor and start the project when you’re ready!
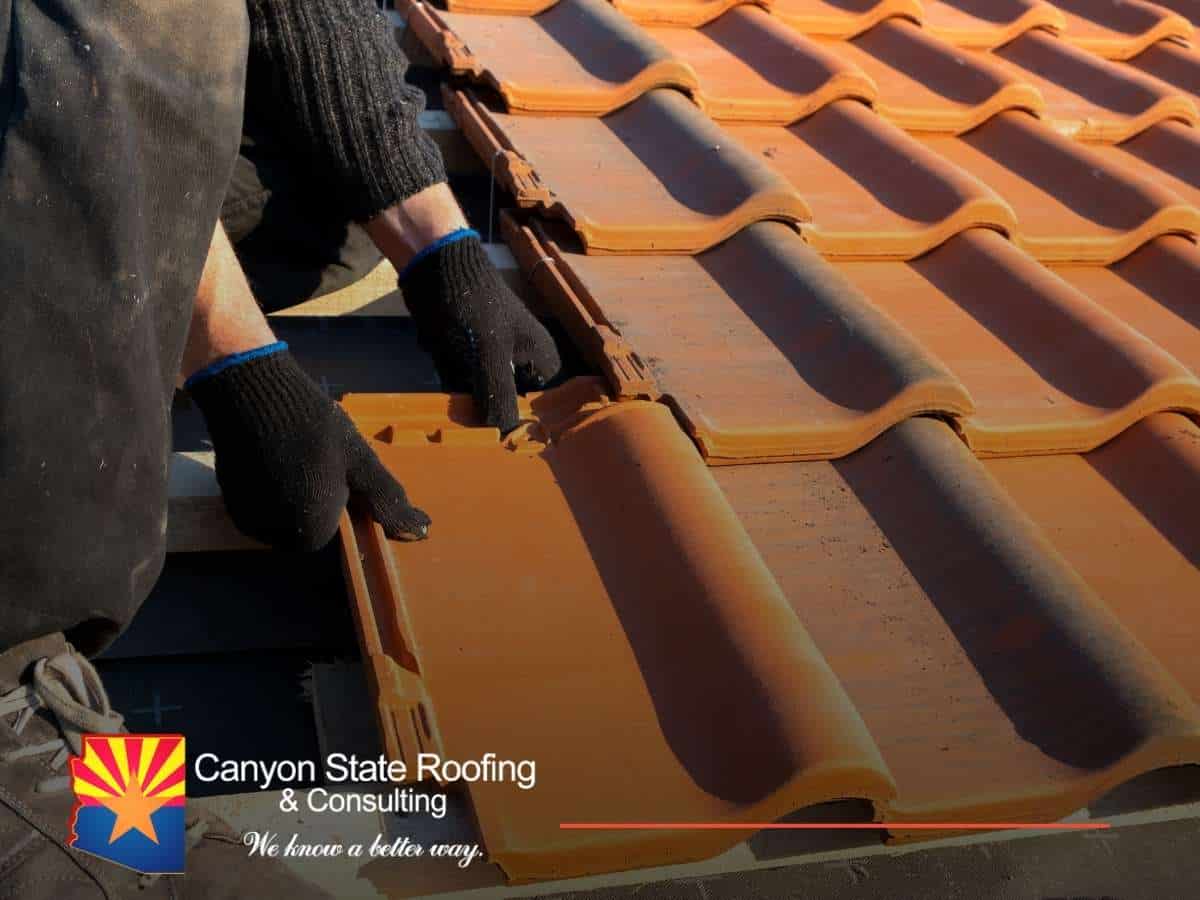
Be Aware of The Roof Boards
You must check each roof board to ensure none of them needs replacement. To prevent damage to the shingles, see if the roof boards are fastened down enough. You must also ensure there is no debris around as it could cause more damage to the roof.
Nails and other sharp objects can cause damage too. See if none of them are protruding out of the roof.
Use Ice & Water Shields
Ice and water protectors (also known as “peel and stick”) are waterproof layers that roofers use to protect vulnerable areas on a roof from water and ice damage. They are made with polymer-modified bitumen.
Ice and water protectors act as stoppers around nail holes, forming a watertight shield that cannot let any leaks pass through. If water gets under the shingles, it will stay on top of the shield and run off the roof where it should.
You must use an ice and water shield to protect your roof shingles. Some states ask you to do this at the proper distance from the wall.
These shields are incredibly adhesive when properly used. Place the protector where you want before removing the backing paper. Once you add the baking paper, you won’t be able to extract it later.
They cost around USD50 per square foot. However, the job they do is crucial when completing the roof preparation.
Use aluminum flashing or similar materials to cover large knot holes. Hammer them down with a hammer tacker or nail gun to make this step a bit easier.
Contact a Phoenix roofing contractor if you have doubts about ice and water shields or to check your roof the best way possible before installing new shingles.
Add a Layer Of Felt
Cover one side of your roof with your felt after overlapping it by a few inches. Make sure the felt covers the area entirely.
You can install a roof vent at this point. All you have to do is to cut a small part of the roof on any side of the peak. Then, cover the remaining side with felt.
You should also cover the roof vent hole you made before. You will cut this part of the roof later, but in the meantime, check all the previous steps to install the shingles successfully.
Once you are ready with the layer of felt, you will be done with the roof preparation.
How Long Does Roof Preparation Take?
The time needed to prepare a roof for shingle installation depends on the roof’s condition and the amount of work required. Basic preparation tasks, such as inspecting roof boards, removing debris, and applying protective layers like ice and water shields, can often be completed in one to two days for an average-sized home.
More extensive issues, such as replacing damaged roof boards or addressing large areas of debris or protruding nails, may extend the process. Proper preparation ensures your shingles will last longer and perform better, so investing time upfront is key. For a quicker and more thorough job, you can always reach out to a Sun City roofing contractor.
Should I Contact a Phoenix Roofing Contractor?
Although you can prepare your roof to install new shingles without professional help, it’s always best to contact the pros.
At Canyon State Roofing, we guarantee great customer service, quality craftsmanship, and excellent materials.
With over 20 years in business, our company has been a top-rated provider of quality commercial and residential roofing services in the Phoenix area. Plus, we are one of the few tile roofing institute-certified roofing companies in Arizona. Contact us now to schedule a FREE estimate ASAP!
![]()
Canyon State Roofing
4809 E Thistle Landing Dr #100
Phoenix, AZ 85044
Office: 602-400-1635
Email: [email protected]
Website: www.canyonstateroofs.com