Table Of Contents
Tile Roofing Materials & Installation Explained
Tile roofing is a go-to for Arizona homeowners because it’s tough, looks great, and lasts a long time. In fact, tile roofs have been around for thousands of years, and they’re still one of the top choices for homes in Phoenix. In this article, we’re here to walk you through the three main types of tile roofing—concrete, clay, and sandcast—so you can choose the best fit for your home.
We’ll also talk about some common issues that can come up during installation and maintenance, especially when it comes to underlayment and getting everything right the first time. Whether you’re building a new home or replacing an old roof, understanding the ins and outs of tile roofing will help make sure your roof lasts for years to come.
Types Of Tile Roofing Materials
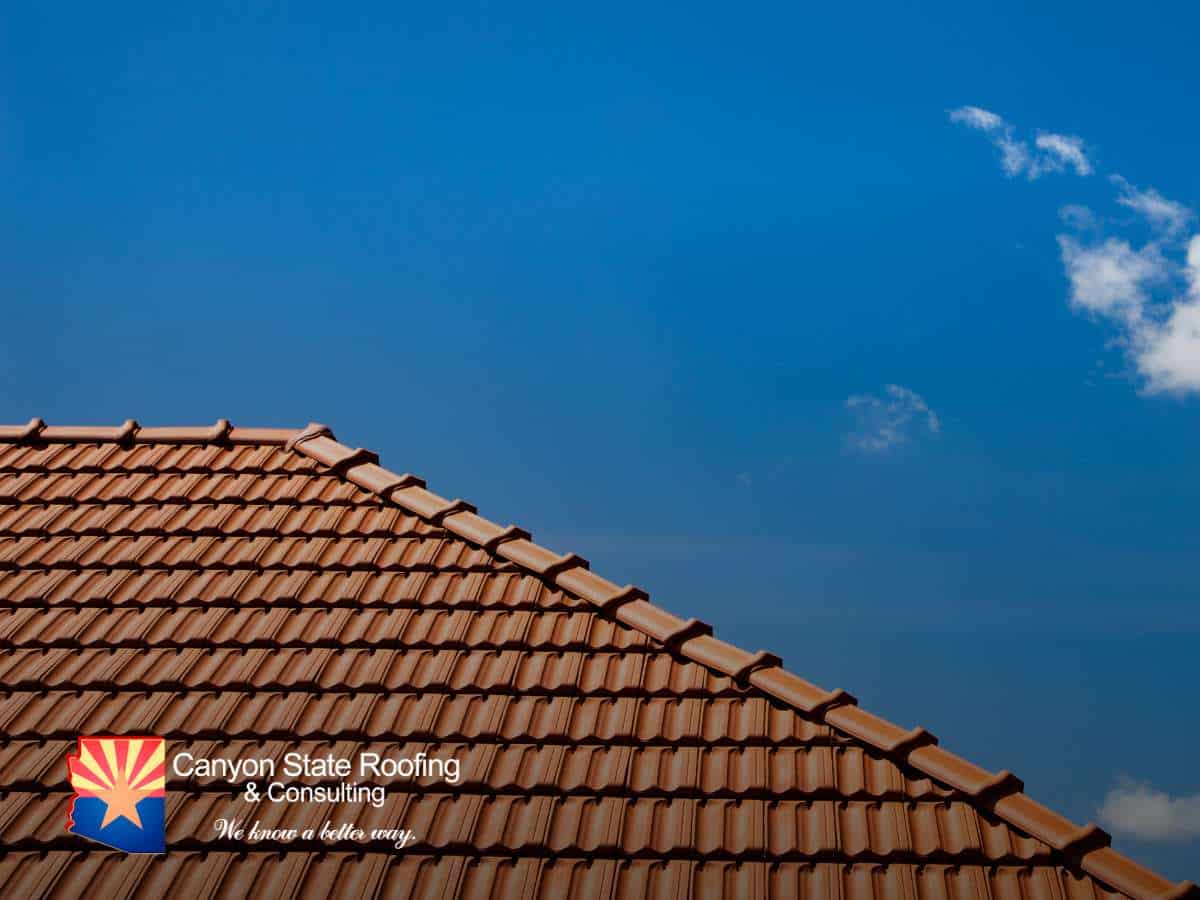
Residential tile roofing is one of the most common types of roofing in Arizona. The three most common types of tile are:
- Concrete
- Clay
- Sandcast
Concrete is the most durable material of the three types of tile. Both Clay and Sandcast can be very brittle. A large percentage of the tile cracks and breaks during installation and roof maintenance. Clay and Sandcast is also much more susceptible to hail damage because of it’s fragile state.
The tile roofing systems in Phoenix, in one form or another, have been around for thousands of years. Some tile roofs have been installed with no underlayment and properly installed, can last virtually forever.
In the past 40 or so years, the concrete tile installation process has changed drastically from the “old world” installation techniques. Concrete tile roofs now allow for dirt and debris to collect under the tiles. Most tile roof failures has to do with improper installation. The unarguable causes of tile roof system failures are:
Some realtors and builders will infer or suggest that tile roofs have a lifetime warranty. A lot of people don’t realize that while the tile may have a lifetime warranty, the underlayment does not. The tile on your roof is not what really makes your roof waterproof. The underlayment underneath the tile is the main waterproofing element, and if you get this done by a Melbourne emergency roof repair company or a one as good as them near you, then you can ensure safe living. The tile acts as a sunscreen for the underlayment, and also serves as a cosmetic element to the building.
Most tile roofs that are 10 years old or older use a 30# underlayment. This type of roofing material was commonly used in the past and is placed underneath the tiles to protect the roof from water and moisture. However, the problem with 30# underlayment is that it is made from organic materials. As dirt, debris, and water collect under the tiles, these organic materials can break down. Over time, this can cause the underlayment to deteriorate, leading to holes, rotting plywood, and leaks.
In contrast, we now use a G40 modified underlayment. This underlayment is made of a combination of rubber and asphalt. Because the materials are not organic, the underlayment lasts much longer if exposed to the elements. G40 is also a self healing material, a little like memory foam.
When a nail is driven through this material, it quickly seals around the nail, creating a watertight environment. Building owners choose to upgrade to a 2nd layer of G40. This allows for up to a 15 year warranty by Canyon State Roofing.
Causes Of Tile Roof Failures
- Improper exposure
- Inadequate flashings or water channels
- Substandard underlayment
- Unforseen entry of dirt and debris through gaps in hips, ridges, and valleys
- Other causes
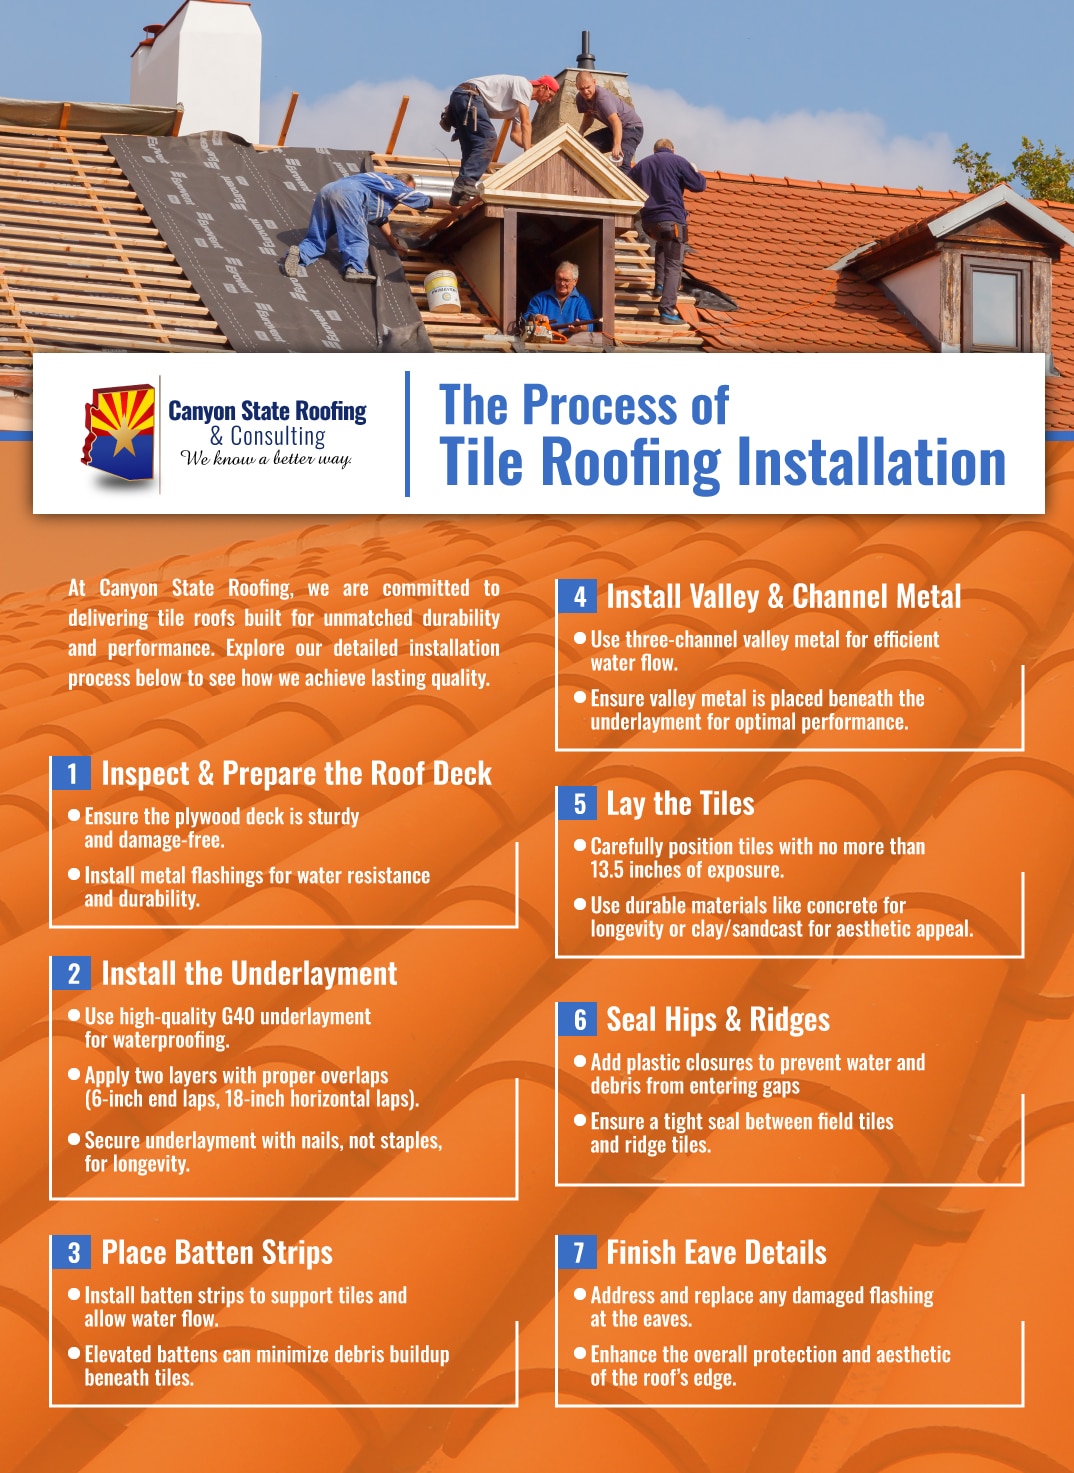
Simply explained, the construction of a tile roof includes: a plywood deck, metal flashings, underlayment, battens strips, tile, hip and ridge closure.
Canyon State Roofing abides by the following protocol for Arizona tile roof installations:
- Upon completion, tile exposure will be no more than 13.5 inches. This often means more tile may need to be purchased for the project.
- Properly placed new batten strips. This placement of these batten strips is important to minimize the inevitable collection of dirt and debris under the tiles. Elevated Battens are also available. They allow water to flow underneath the battens.
- Properly installed G40 underlayment. Nails will be used, not staples. Proper overlap of the underlaymet is also important. 6 inch overlaps on the end laps, and 6 inch overlaps on the horizontal laps. 2 plys of G40 underlayment ensures at least 18 inch overlaps.
- New Channel Metal may be proposed. This allows for water to be carried within the proper channels
- Valley metal should be placed under the underlayment, not on top. Three channel metal will replace most single rib valley metal. This metal allows for positive water flow many years down the road.
- Plastic hip and ridge closure is required for all tile roofs. This bridges the gaps between field tile and hip and ridge tile. And will allow little or no water,dirt and debris to slip in between the tile and underlayment.
- The eave detail should be discussed and addressed if the previous flashing detail has failed.
Looking For Tile Roofing? Contact Canyon State Roofing For Expert Service In Phoenix & Surrounding Areas!
Contact Canyon State Roofing for your tile roofing needs! We service the Phoenix metro roofing including, Chandler, Mesa residential roofing, Gilbert, and the surrounding areas!
Canyon State Roofing
4809 E Thistle Landing Dr #100
Phoenix, AZ 85044
Office: 602-400-1635
Email: [email protected]
Website: www.canyonstateroofs.com


